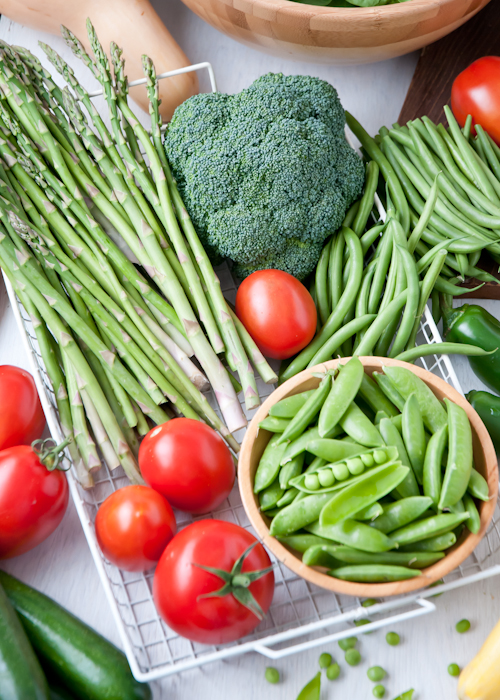
11 secrets to freezing produce, by Design Mom

by Jerome Farmers Market, May 04, 2015
11 Secrets to Properly Freezing Produce
article courtesy of Design Mom
Images and text by Lindsey Johnson for Design Mom.

"When I was a little girl, I loved going to my Grandma Maxie’s house. There was always something yummy to eat, especially during the summer when her garden was brimming with strawberries, rhubarb, peaches, and all sorts of veggies. I used to pass by the giant (ancient) freezer on my way through the garage to the backyard and I would stop, open it, and gaze at the stacks and stacks of square freezer containers with green or yellow lids. Each had tape around it and was labeled with the contents. My favorite, no surprise, was her strawberry and raspberry freezer jam.
Now that I’m a mom, I enjoy taking my kids to local pick-your-own farms to pick fruits and vegetables. Along with the harvest from our garden and stops at roadside stands and farmers markets, we end up with a lot of summer fruit and vegetables that we want to preserve and enjoy throughout the year, not just during the summer. While I really enjoy canning now and again, I’ve really been channeling my grandmother the past few years and taken freezing food to a new level.
There’s a reason for that. I find that some things are quicker to preserve when freezing, like berries. And other produce is fresher tasting and the quality is a bit better when freezing instead of canning. Plus, confession: I just don’t like canned veggies all that much. So, freezing it is!
Remember last summer when we covered the basics of washing and storing produce? Consider this the companion to that post.
As with canning, freezing produce requires a little bit of planning and gathering the proper equipment. While canning relies on heat to kill microbes, which then also destroys some of the nutritional value, freezing delays the growth of bacteria and slows the work of enzymes, which keeps the food preserved. That’s not to say that frozen food isn’t as safe as canned food. It’s just a different way to do it.
A big plus for freezing produce is that it ends up tasting much fresher and contains more nutrients than canned produce.
But there is a draw back as well. The texture of thawed veggies and fruit can be undesirable. In the process of freezing, the water within the fruits and veggies turns to ice. As it does, it expands which causes cell walls to burst. This can equal mushy texture when thawed.
But there are steps you can take to ensure higher quality frozen fruits and veggies — similar to the ones you buy at the grocery store. And we’ll cover those below.
First let’s talk about the materials you’ll need to assemble before you start.
How to Properly Freeze Fruits & Veggies. 11 Secrets!  |  Design Mom
GATHER MATERIALS
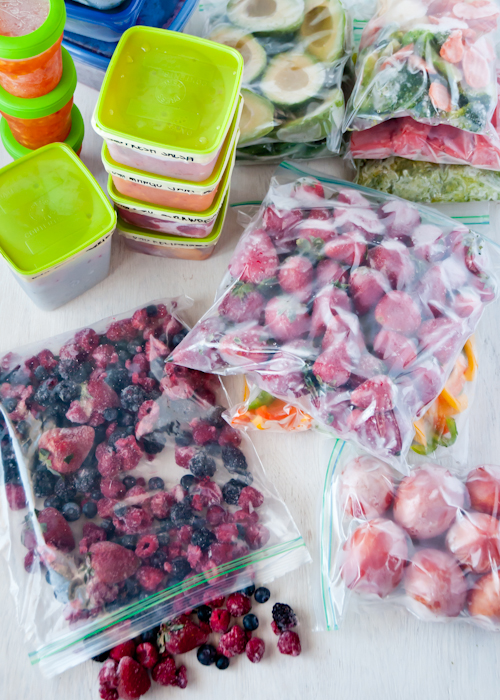
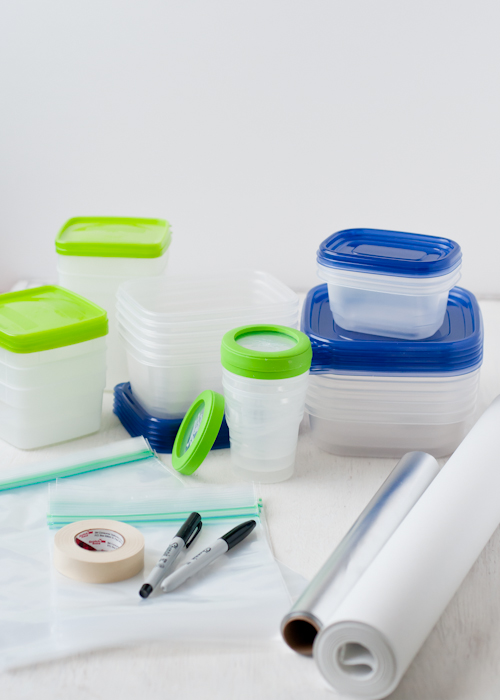
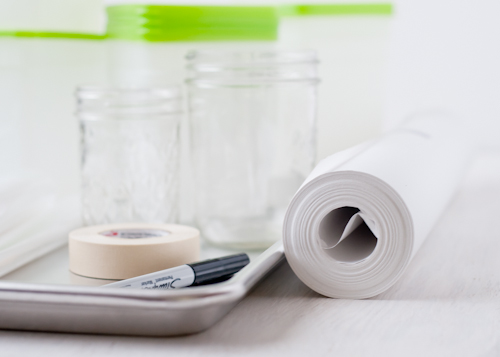
Secret #1: Something great thing about freezing fruits and vegetables is that you don’t really need fancy equipment. Freezer bags come in handy for “dry pack” freezing that doesn’t involve using syrups or purees. Rigid plastic (and sometimes glass) containers and jars come in handy for liquid or semi-solid foods, sauces, jams, and other preserves.
I stocked up on both sorts of containers (including some pretty awesome jars for freezer jam) and plastic freezer bags at Target.
How to Properly Freeze Fruits & Veggies. 11 Secrets!  |  Design Mom
In addition to containers, I also recommend freezer paper, freezer tape, and heavy-duty foil. They come in handy for packaging certain foods and for long-term storage. Long term means longer than the typical 6-12 months. The longer you store the food in the freezer, the more the quality declines, but it is still perfectly fine to eat.
Another essential for me is a rimmed baking sheet. I use it to quickly freeze individual pieces of whole or sliced produce. More on that in a bit.
Again, I found all the materials I needed for this post — from bowls, to markers, to baking sheets — at Target.
How to Properly Freeze Fruits & Veggies. 11 Secrets!  |  Design Mom
PREPARE THE FOOD
You’ll want to wash all fruits and vegetables well, especially if you don’t plan on peeling them, and pat them dry with a paper towel or dishtowel. Some fruits and vegetables can be frozen whole, while others need to be peeled, pitted, and/or cut into smaller pieces. A bit of it is personal preference, but some produce definitely does better in the freezer when cut into smaller pieces.
How to Properly Freeze Fruits & Veggies. 11 Secrets!  |  Design Mom
Secret #2: Fruits and veggies that do exceptionally well frozen whole:
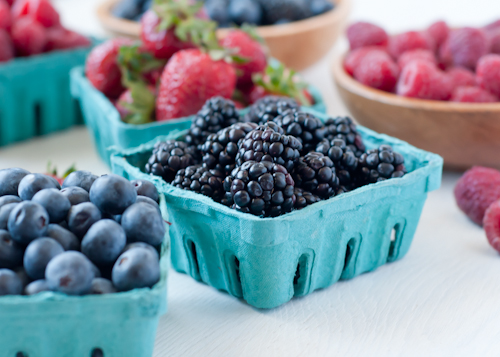
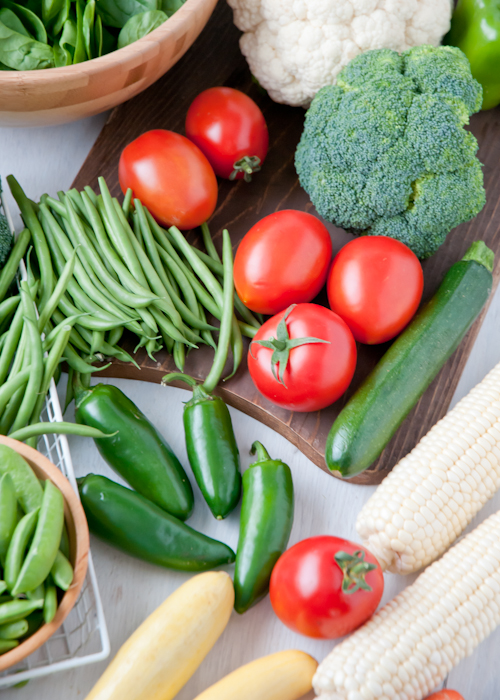
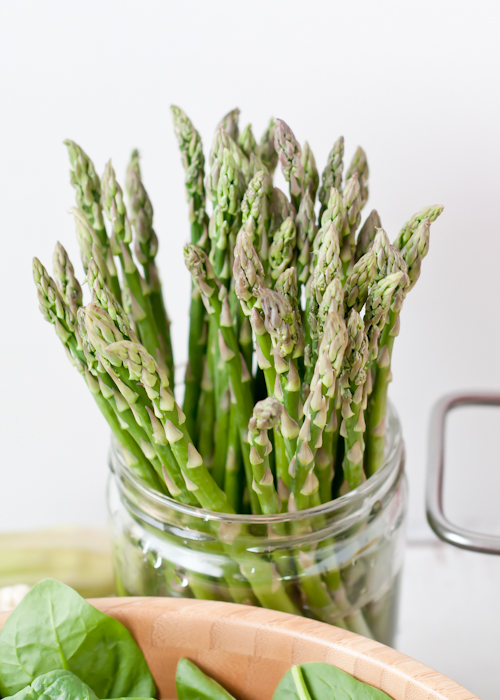
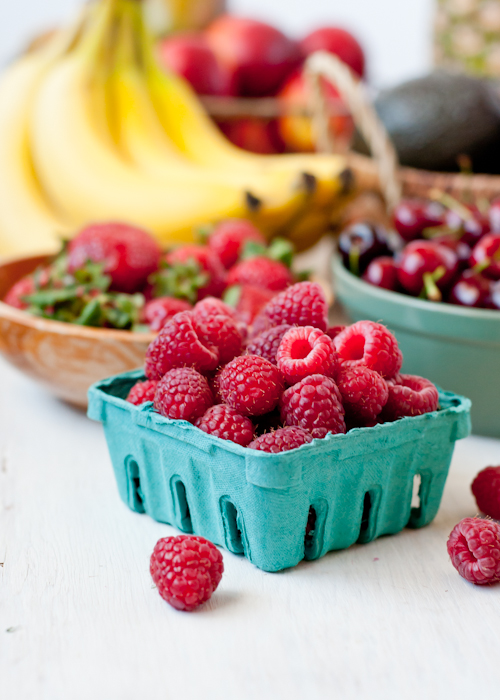
Berries (raspberries, strawberries, blueberries, blackberries, currants, cranberries, etc.), bananas, chili peppers, beans, asparagus, tomatoes, and corn.
How to Properly Freeze Fruits & Veggies. 11 Secrets!  |  Design Mom
Secret #3: Produce that does well sliced or diced:
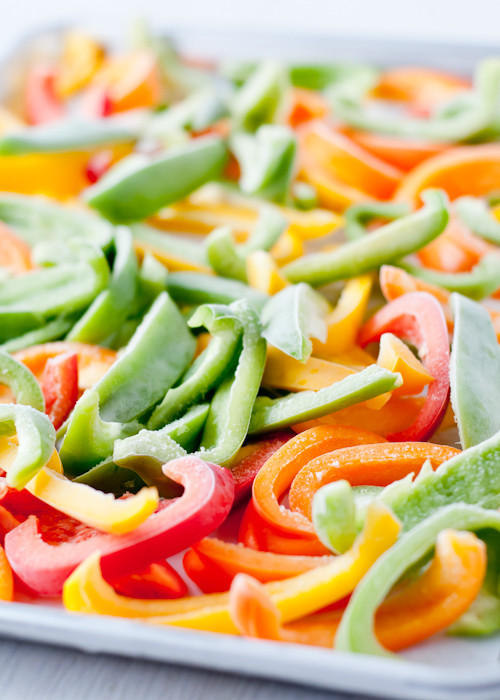
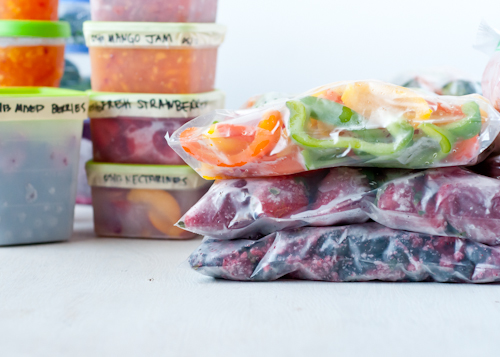
Bell peppers, avocado, mango, pineapple, melon, peas, carrots, broccoli, cauliflower, stone fruits (peaches, nectarines, plums, cherries), apples (yes, you can freeze apples!), summer squash, and winter squash.
How to Properly Freeze Fruits & Veggies. 11 Secrets!  |  Design Mom
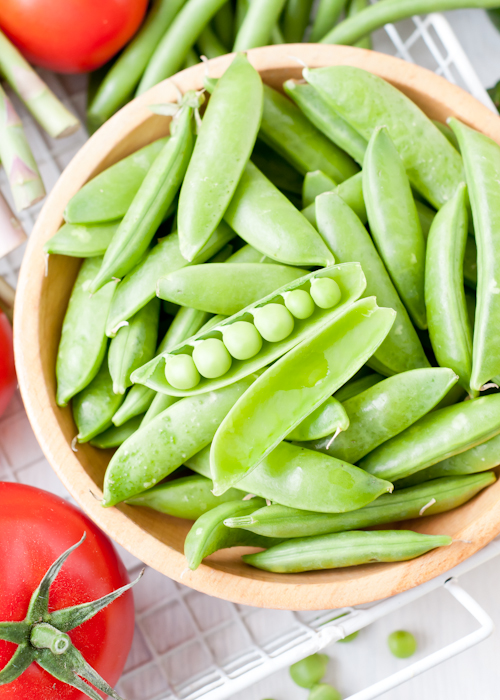
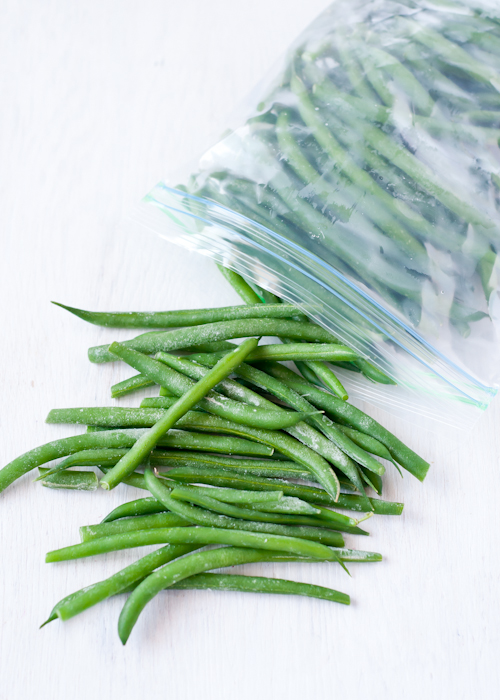
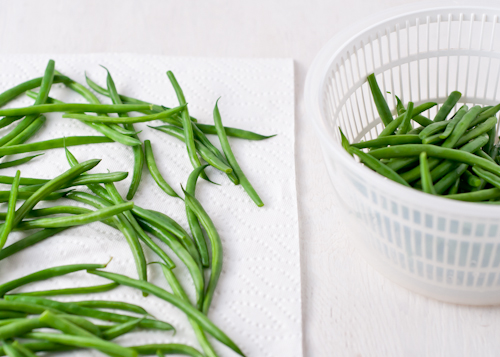
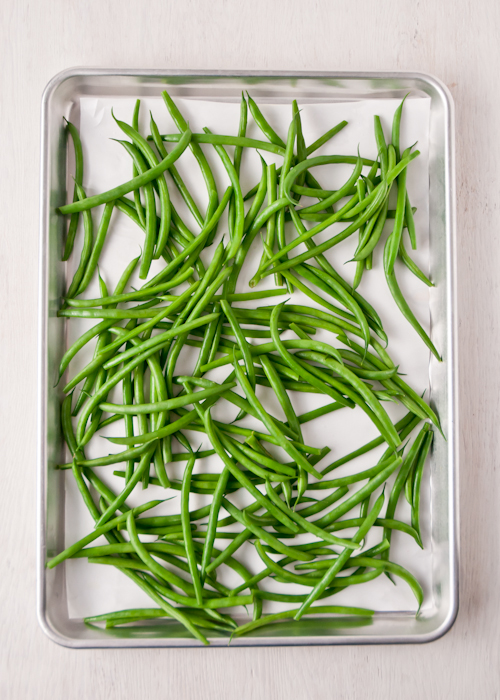
Cut broccoli and cauliflower into florets. Shell peas, trim the ends of green beans and asparagus. Dice or slice peeled carrots, squash, brussels sprouts, and large leaves of spinach, chard, and kale. Rhubarb should be trimmed of woody ends and diced.
How to Properly Freeze Fruits & Veggies. 11 Secrets!  |  Design Mom
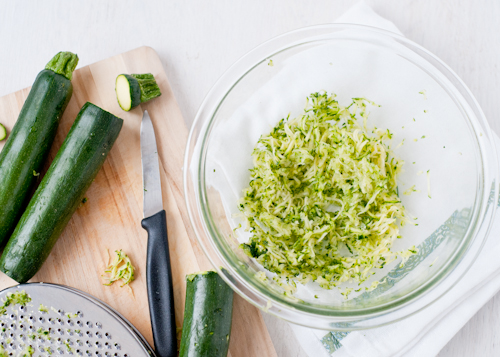
Potatoes can be frozen, but benefit from being shredded. Think: hashbrowns. (Note: I personally don’t like freezing potatoes at home. The quality just isn’t as good.) Zucchini is another veggie with a high water content. It can be sliced or diced and frozen, but I prefer shredding it instead.
How to Properly Freeze Fruits & Veggies. 11 Secrets!  |  Design Mom
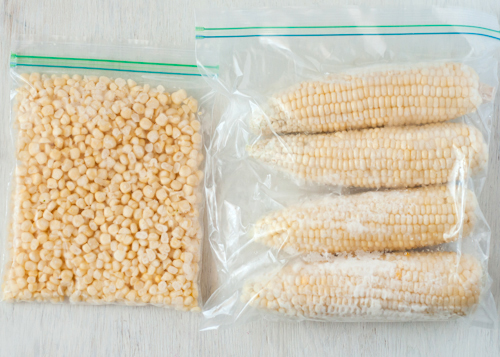
Corn and bananas are pretty versatile when it comes to freezing. Corn can be frozen whole or cut from the cob.  It’s totally up to you!  I think it’s one of the best veggies for freezing because the quality isn’t as affected by the cold temperatures.
How to Properly Freeze Fruits & Veggies. 11 Secrets!  |  Design Mom
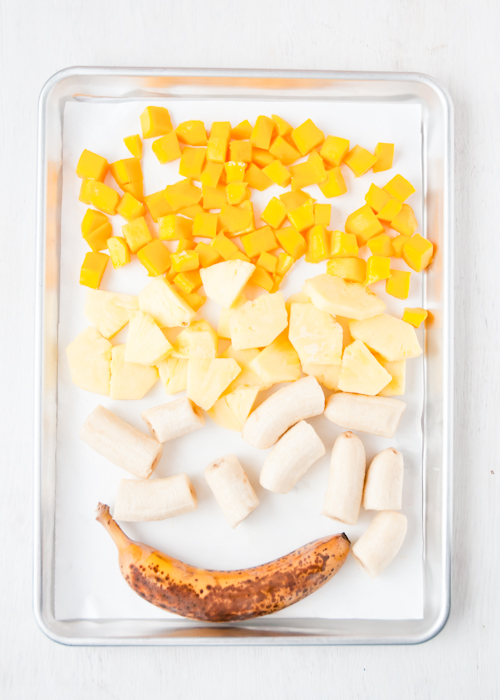
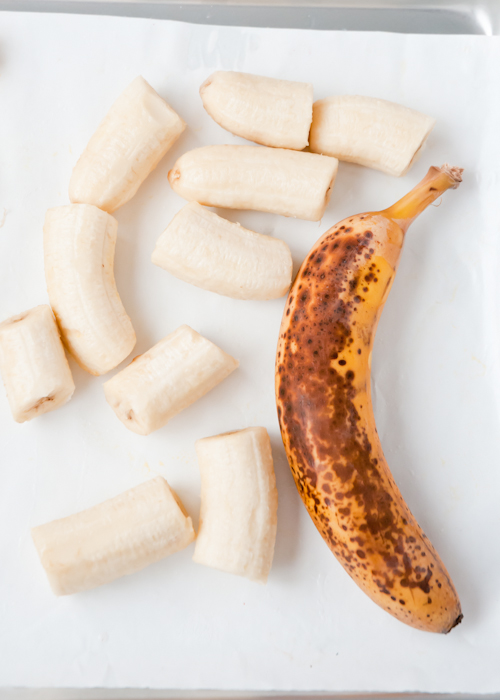
Bananas can be frozen whole and unpeeled, or peeled and whole, or peeled and cut. They’re pretty fabulous that way! I can’t resist adding a frozen banana to my daily smoothie to sweeten it up without adding sugar.
After fruits and veggies have been peeled, sliced and diced, as needed, there are a few more preparation steps.
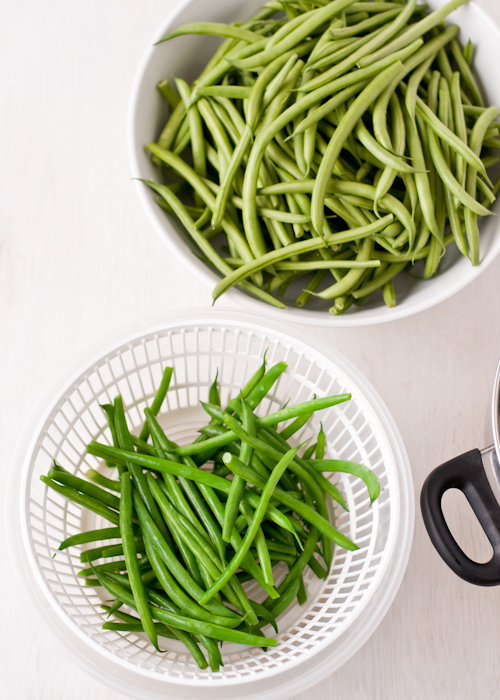
Secret #4: Most vegetables also need to be blanched before freezing. Blanching is nothing more than plunging vegetables into a pot of boiling water, letting them cook briefly (3-4 minutes max), and transferring them to a big bowl of ice water to stop the cooking.
Why is this important? Remember that mushiness I mentioned earlier? This will help with that, but it also helps maintain the color and nutrients, as well as killing any surface organisms that could lead to spoilage.
Corn (though you could), tomatoes, onions, potatoes (including sweet), and winter squash don’t need to be blanched. And neither do fruits.
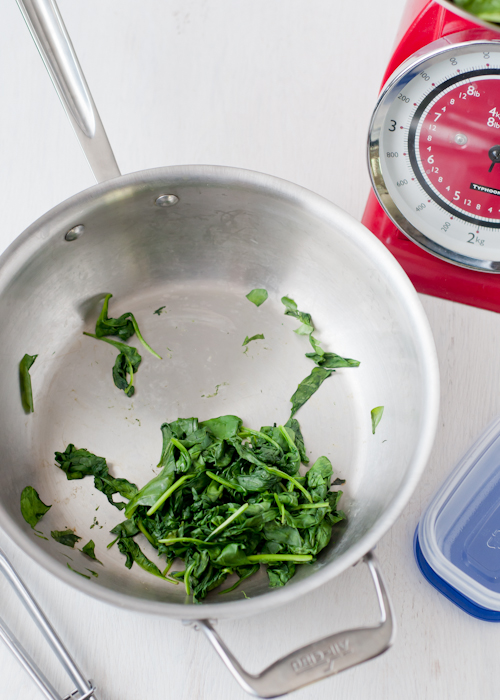
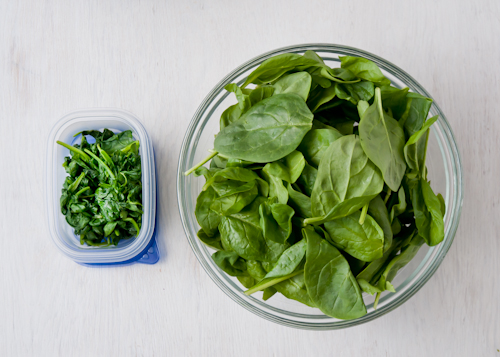
Leafy greens don’t have to be cooked, but they can be. But one thing is for sure, quickly sauteing spinach, for instance, really saves on space! Pictured above is four ounces of spinach cooked and fresh.
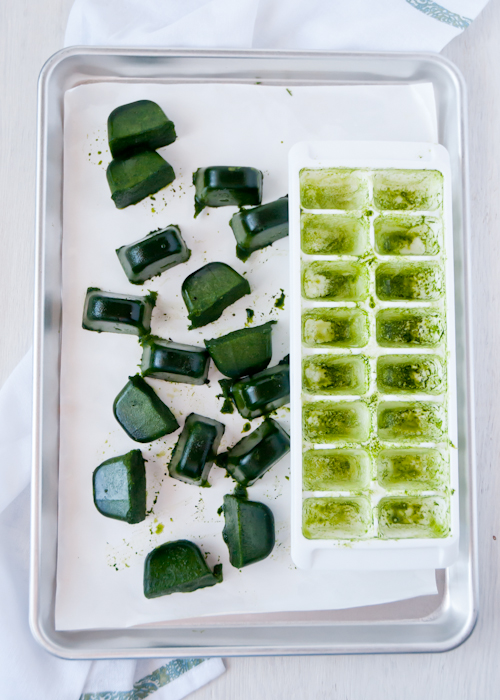
How to: Pureed Spinach Cubes for Green Smoothies
Something I saw a few months ago (and a few of you lovely readers mentioned to me) that I think is brilliant, is making spinach ice cubes to add to smoothies. I usually just put the greens into my smoothie packs, but I finally tried this and I’m hooked! Simply add a whole bunch of leafy greens to a blender with enough water to make a smooth puree and freeze. Easy peasy!
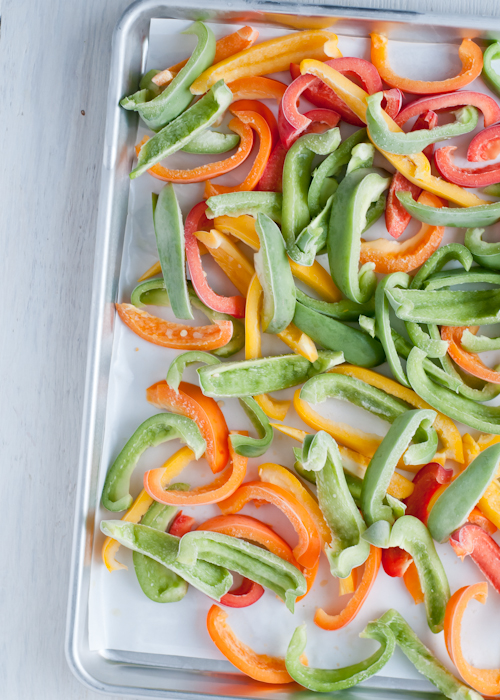
I also like to roast some foods before I freeze them. I’ve done this with tomatillos, plums, tomatoes, and peppers. I will either puree them into a sauce or freeze them as is, juices and all.
How to Properly Freeze Fruits & Veggies. 11 Secrets!  |  Design Mom
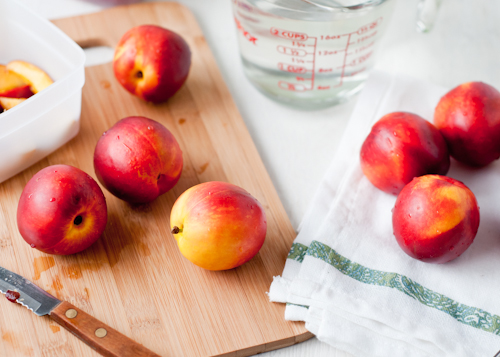
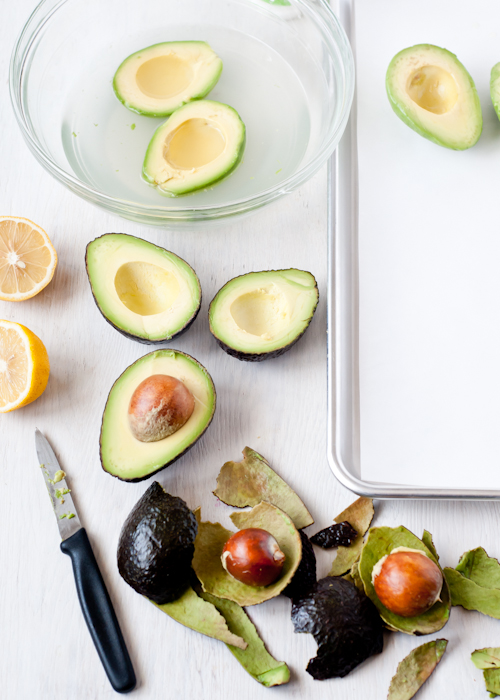
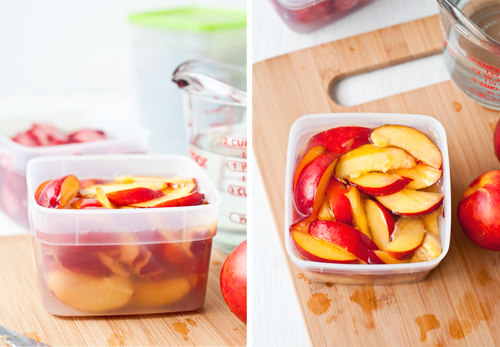
Secret #5: In canning, foods are treated with citric acid, lemon juice, or ascorbic acid to help kill microorganisms and prevent discoloration. The same rings true with freezing. Think of all of your favorite fruits that turn brown after being cut — bananas, avocado, peaches and nectarines, apples, etc.  They benefit from a quick dip into acidulated water.
How to Properly Freeze Fruits & Veggies. 11 Secrets!  |  Design Mom
Make a solution of 1/2 teaspoon ascorbic acid (found in the pharmacy or canning section of grocery stores) per 3 Tablespoons of water, or 1 Tablespoon fresh lemon juice in 4 cups (1 quart) water. Sprinkle or dip the fruit with the solution and let dry.
How to Properly Freeze Fruits & Veggies. 11 Secrets!  |  Design Mom
FREEZING
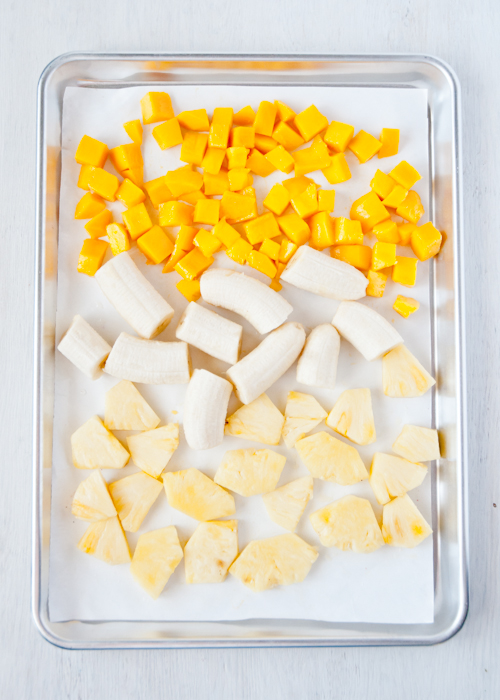
First up, Dry Pack freezing, where we start by talking about IQF, or Individually Quick Frozen. The idea behind this is simple: if a fruit/veggie is frozen in a single layer (whole or sliced), it will freeze more quickly. Secret #6: Freezing quickly is great because a) fruits and veggies are easy to thaw out if they aren’t frozen together in a big lump, and b) the quality is better after thawing.
How to Properly Freeze Fruits & Veggies. 11 Secrets!  |  Design Mom
All you do is place everything you want to freeze in a single layer on a lined baking sheet. Lined, so that what you’re freezing doesn’t stick to the pan.
The goal is to freeze the food as quickly as possible. Adjusting the temperature of the freezer ahead of time is a good idea. You want to ensure that it’s as cold as possible — at least 0 degrees F or lower. You also want to make sure there is plenty of air circulation for even freezing, so it’s better not to layer a bunch of bags or containers in the freezer at once. Doing it over the course of a day or a few days is a good idea.
Be sure to not open the freezer as the produce is freezing on the baking sheets. You really want them to freeze as quickly as possible without fluctuating temperatures. When the food is frozen, transfer to containers or bags and place the bags back in the freezer.
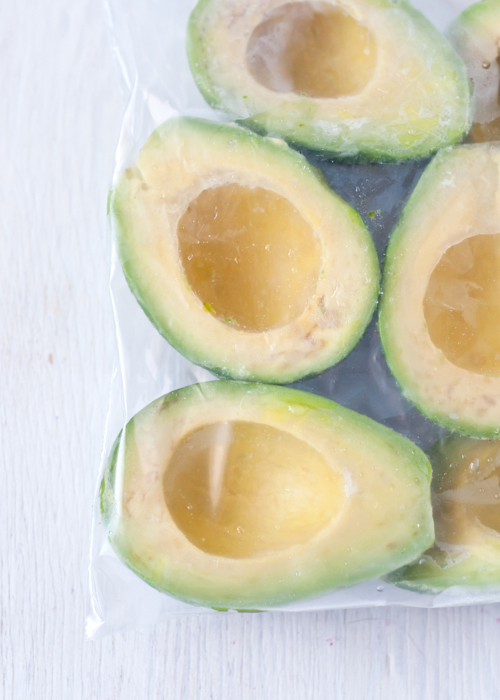
Removing air from containers and bags will help keep frozen food last that much longer and help prevent hoar frost from forming.
How to Properly Freeze Fruits & Veggies. 11 Secrets!  |  Design Mom
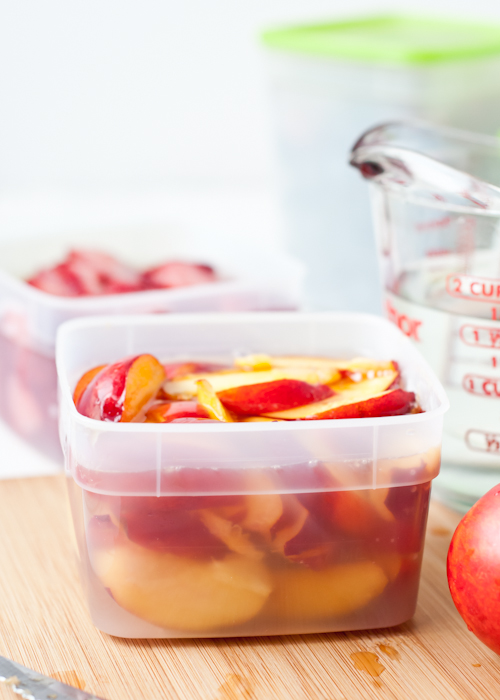
Secret #7: Another option is Wet Pack freezing, or freezing fruit in a sugar syrup. The recipe for the syrup is the same as you’d use when canning. All of the steps are the same as with canning, except no cooking needed. It’s so easy to do!
How to Properly Freeze Fruits & Veggies. 11 Secrets!  |  Design Mom
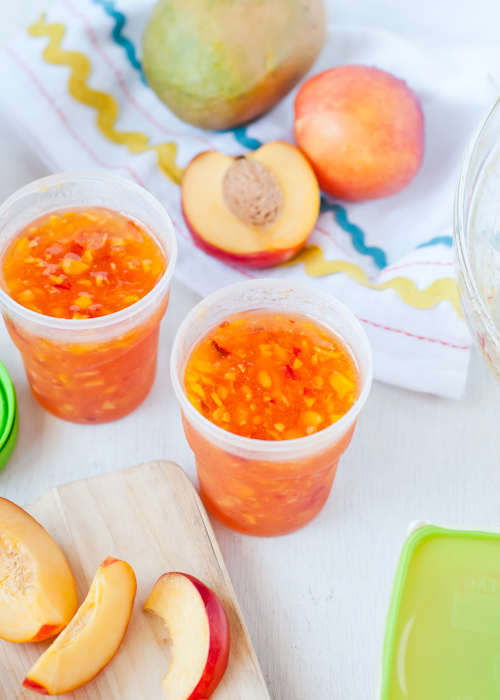
Of course I can’t talk about freezing produce without talking about freezer jam. In the winter months, it’s really wonderful to pull out a jar or container of freezer jam made from summer fruit. We really enjoy making jam at our house and it is another great way to enjoy frozen fruit.
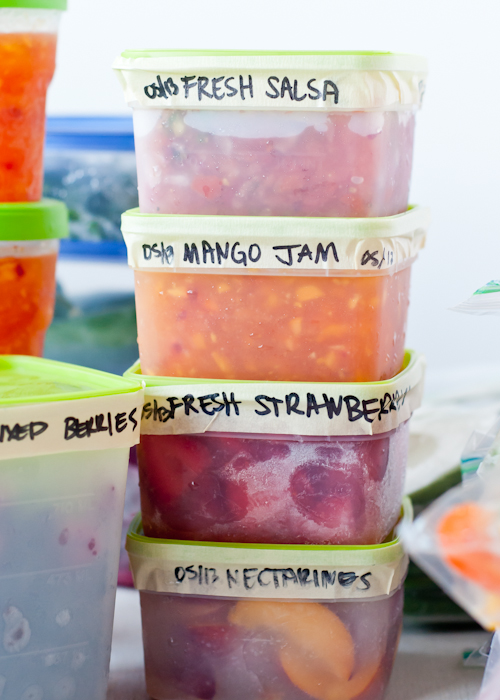
I also freeze fruit and vegetable purees (including baby food when my kids were tiny), soups, sauces and other condiments, like fresh salsa.
How to Properly Freeze Fruits & Veggies. 11 Secrets!  |  Design Mom
LABELING & STORING
Secret #8: You’ll want to label the bags and containers with the date and the contents. You might think you’ll remember what it is, but six months down the road it might be more difficult to remember what was in each bag or container.
How to Properly Freeze Fruits & Veggies. 11 Secrets!  |  Design Mom
Freezer tape will stay on the containers despite the cold temperature and the moisture. I like to run tape around the containers too, to keep out air and prevent hoar frost. Wrapping bags and containers in foil and taping will also help with that.
How to Properly Freeze Fruits & Veggies. 11 Secrets!  |  Design Mom
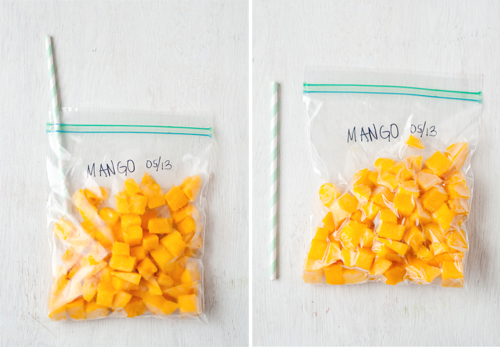
I like to use resealable freezer bags a lot when I freeze produce. They’re easy and inexpensive. Secret #9: Both bags and containers should be packed full. Remove as much air as possible. A trick I learned is to use a straw to suck all of the air from the bag and then quickly close it.
How to Properly Freeze Fruits & Veggies. 11 Secrets!  |  Design Mom
For containers, removing air is a bit challenge without the help of a vacuum device. A vacuum sealer is definitely the way to go for long-term storage — both for bags and containers. It is worth the extra expense to purchase a device if you do a lot of freezing. Removing the extra air and sealing fruit and veggies individually in plastic packaging yields a lot better results than the freezer bags alone. (My grandma swears by it!)
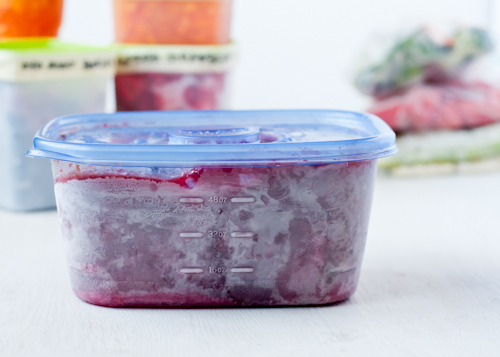
Secret #10: When using containers, be sure to leave enough headspace to allow for the liquids to expand as it freezes.
How to Properly Freeze Fruits & Veggies. 11 Secrets!  |  Design Mom
STORAGE TIME & THAWING
Typically in a basic freezer, frozen fruits and veggies will last a very long time. As time passes, the food doesn’t become inedible, but the quality does deteriorate. If you plan on keeping frozen foods for a long time, a deep freeze might be a better bet as it has lower temperatures and is opened less often.
Secret #11: Fruit will keep well for a year, and veggies will keep for about 18 months. (I’ve had some keep for much, much longer.)
How to Properly Freeze Fruits & Veggies. 11 Secrets!  |  Design Mom
When thawing, know that fruits are better eaten when still a little frozen so they aren’t completely mushy. Or you can cook them into sauces, or add them to smoothies. Vegetables are best cooked straight from the freezer, no thawing.
Some vegetables suffer no ill effects from freezing — corn and peas, particularly. Others will be better in recipes where they will break down and be consumed in smaller pieces, like soups, stews and sauces. There’s nothing easier than pulling a bag of broccoli, carrots and cauliflower straight out of the freezer and toss them right into a Thai curry.
How to Properly Freeze Fruits & Veggies. 11 Secrets!  |  Design Mom
Well there we have it. Everything you need to know to get your summer harvest stocked away for the winter.
What about you? Does all this talk about freezing fruits and veggies take you right back to summers at your grandma’s house? Do you prefer canning? Any tips or secrets you’ve learned along the way? I’d love to know!
P.S. — Love secrets? You can find all of the other posts in the Living Well series here."


For more amazing tips and tricks for everyday life go to DESIGN MOM!


Seasonal Shopping list:

by Jerome Farmers Market, May 04, 2015


Grow your own Organic Vegetable Garden!

by Jerome Farmers Market, April 27, 2015

7 Secrets For A High-Yield Vegetable Garden


Imagine harvesting nearly half a ton of tasty, beautiful, organically grown vegetables from a 15-by-20-foot plot, 100 pounds of tomatoes from just 100 square feet (a 4-by-25-foot bed), or 20 pounds of carrots from just 24 square feet. Yields like these are easier to achieve than you may think. The secret to superproductive gardening is taking the time now to plan strategies that will work for your garden. Here are seven high-yield strategies gleaned from gardeners who have learned to make the most of their garden space.
1. Build Up Your Soil
Expert gardeners agree that building up the soil is the single most important factor in pumping up yields. A deep, organically rich soil encourages the growth of healthy, extensive roots that are able to reach more nutrients and water. The result: extra-lush, extra-productive growth above ground.

The fastest way to get that deep layer of fertile soil is to make raised beds. Raised beds yield up to four times more than the same amount of space planted in rows. That’s due not only to their loose, fertile soil but also to efficient spacing—by using less space for paths, you have more room to grow plants.
Raised beds save you time, too. One researcher tracked the time it took to plant and maintain a 30-by-30-foot garden planted in beds, and found that he needed to spend just 27 hours in the garden from mid-May to mid-October. Yet he was able to harvest 1,900 pounds of fresh vegetables—that’s a year’s supply of food for three people from about 3 total days of work!
How do raised beds save so much time? Plants grow close enough together to shade out competing weeds so you spend less time weeding. The close spacing also makes watering and harvesting more efficient.
2. Round Out Your Beds
The shape of your beds can make a difference, too. Raised beds are more space-efficient if the tops are gently rounded to form an arc. A rounded bed that is 5 feet wide across its base, for instance, will give you a 6-foot-wide arc above it—creating a planting surface that’s a foot wider than that of a flat bed. That foot might not seem like much, but multiply it by the length of your bed and you’ll see that it can make a big difference in total planting area.

In a 20-foot-long bed, for example, rounding the top increases your total planting area from 100 to 120 square feet. That’s a 20 percent gain in planting space in a bed that takes up the same amount of ground space. Lettuce, spinach, and other greens are perfect crops for planting on the edges of a rounded bed.
3. Space Smartly
To get the maximum yields from each bed, pay attention to how you arrange your plants. Avoid planting in square patterns or rows. Instead, stagger the plants by planting in triangles. By doing so, you can fit 10 to 14 percent more plants in each bed.
Just be careful not to space your plants too tightly. Some plants won’t reach their full size—or yield—when crowded. For instance, when one researcher increased the spacing between romaine lettuces from 8 to 10 inches, the harvest weight per plant doubled. (Remember that weight yield per square foot is more important than the number of plants per square foot.)
Overly tight spacing can also stress plants, making them more susceptible to diseases and insect attack.
4. Grow Up
No matter how small your garden, you can grow more by going vertical. Grow space-hungry vining crops—such as tomatoes, pole beans, peas, squash, melons, cukes, and so on—straight up, supported by trellises, fences, cages, or stakes.

Growing vegetables vertically also saves time. Harvest and maintenance go faster because you can see exactly where the fruits are. And upward-bound plants are less likely to be hit by fungal diseases thanks to the improved air circulation around the foliage.
Try growing vining crops on trellises along one side of raised beds, using sturdy end posts with nylon mesh netting or string in between to provide a climbing surface. Tie the growing vines to the trellis. But don’t worry about securing heavy fruits—even squash and melons will develop thicker stems for support.
5. Mix It Up
Interplanting compatible crops saves space, too. Consider the classic Native American combination, the “three sisters”—corn, beans, and squash. Sturdy cornstalks support the pole beans, while squash grows freely on the ground below, shading out competing weeds. This combination works because the crops are compatible. Other compatible combinations include tomatoes, basil, and onions; leaf lettuce and peas or brassicas; carrots, onions, and radishes; and beets and celery. 

6. Succeed With Successions
Succession planting allows you to grow more than one crop in a given space over the course of a growing season. That way, many gardeners are able to harvest three or even four crops from a single area. For instance, an early crop of leaf lettuce can be followed with a fast-maturing corn, and the corn followed by more greens or overwintered garlic—all within a single growing season. To get the most from your succession plantings:
  • Use transplants. A transplant is already a month or so old when you plant it, and so will mature that much faster than a direct-seeded plant (one grown from seeds sown in the garden).
  • Choose fast-maturing varieties.
  • Replenish the soil with a ¼-to-½-inch layer of compost (about 2 cubic feet per 100 square feet) each time you replant. Work it into the top few inches of soil.
7. Stretch Your Season
Adding a few weeks to each end of the growing season can buy you enough time to grow yet another succession crop—say a planting of leaf lettuce, kale, or turnips—or to harvest more end-of-the-season tomatoes.

To get those extra weeks of production, you need to keep the air around your plants warm, even when the weather is cold, by using mulches, cloches, row covers, or cold frames.
Or give heat-loving crops (such as melons, peppers, and eggplants) an extra-early start by using two “blankets”—one to warm the air and one to warm the soil in early spring. About 6 to 8 weeks before the last frost date, preheat cold soil by covering it with either infrared-transmitting (IRT) mulch or black plastic, which will absorb heat. Then, cover the bed with a slitted, clear plastic tunnel. When the soil temperature reaches 65° to 70°F, set out plants and cover the black plastic mulch with straw to keep it from trapping too much heat. Remove the clear plastic tunnel when the air temperature warms and all danger of frost has passed. Install it again at the end of the season when temperatures cool.

Article courtesy of: Rodale's Organic Life


10 Reasons to Support Farmers Markets

by Jerome Farmers Market, April 20, 2015

10 Reasons to Support Farmers Markets


1. Taste Real Flavors

The fruits and vegetables you buy at the farmers market are the freshest and tastiest available. Fruits are allowed to ripen fully in the field and are brought directly to you—no long-distance shipping, no gassing to simulate the ripening process, no sitting for weeks in storage. This food is as real as it gets—fresh from the farm.

2. Enjoy the Season

The food you buy at the farmers market is seasonal. It is fresh and delicious and reflects the truest flavors. Shopping and cooking from the farmers market helps you to reconnect with the cycles of nature in our region. As you look forward to asparagus in spring, savor sweet corn in summer, or bake pumpkins in autumn, you reconnect with the earth, the weather, and the turning of the year.

3. Support Family Farmers

Family farmers need your support, now that large agribusiness dominates food production in the U.S. Small family farms have a hard time competing in the food marketplace. Buying directly from farmers gives them a better return for their produce and gives them a fighting chance in today’s globalized economy.

4. Protect the Environment

Food in the U.S. travels an average of 1,500 miles to get to your plate. All this shipping uses large amounts of natural resources (especially fossil fuels), contributes to pollution, and creates trash with extra packaging. Conventional agriculture also uses many more resources than sustainable agriculture and pollutes water, land, and air with toxic agricultural by-products. Food at the farmers market is transported shorter distances and is generally grown using methods that minimize the impact on the earth.

5. Nourish Yourself

Much food found in grocery stores is highly processed and grown using pesticides, hormones, antibiotics, and genetic modification. Some of it has been irradiated, waxed, or gassed in transit. These practices may have negative effects on human health. In contrast, most food found at the farmers market is minimally processed, and many of our farmers go to great lengths to grow the most nutritious produce possible by using sustainable techniques, picking produce right before the market, and growing heirloom varieties.

6. Discover the Spice of Life: Variety

At the farmers market you find an amazing array of produce that you don’t see in your average supermarket: red carrots, a rainbow of heirloom tomatoes, purple cauliflower, stinging nettles, green garlic, watermelon radishes, quail eggs, maitake mushrooms, and much, much more. It is a wonderful opportunity to savor the biodiversity of our planet.

7. Promote Humane Treatment of Animals

At the farmers market, you can find meats, cheeses, and eggs from animals that have been raised without hormones or antibiotics, who have grazed on green grass and eaten natural diets, and who have been spared the cramped and unnatural living conditions of feedlots and cages that are typical of animal agriculture.

8. Know Where Your Food Comes From

A regular trip to a farmers market is one of the best ways to connect with where your food comes from. Meeting and talking to farmers and food artisans is a great opportunity to learn more about how and where food is produced. CUESA’s seller profiles that hang at the booths give you even more opportunities to learn about the people who work hard to bring you the most delicious and nutritious food around. Profiles, articles about sellers, and a map of farms are also available on this website.

9. Learn Cooking Tips, Recipes, and Meal Ideas

Few grocery store cashiers or produce stockers will give you tips on how to cook the ingredients you buy, but farmers, ranchers, and artisans at the farmers market are often passionate cooks with plenty of free advice about how to cook the foods they are selling. You can also attend free seasonal cooking demonstrations by leading Bay Area chefs and evening classes on food preservation and other kitchen skills.

10. Connect with Your Community

Wouldn’t you rather stroll amidst outdoor stalls of fresh produce on a sunny day than roll your cart around a grocery store with artificial lights and piped in music? Coming to the farmers market makes shopping a pleasure rather than a chore. The farmers market is a community hub—a place to meet up with your friends, bring your children, or just get a taste of small-town life in the midst of our wonderful big city.

Article courtesy of Mother Earth Living


3 Reasons you should shop at the Farmers Market...

by Jerome Farmers Market, April 13, 2015

Three Reasons You Should Be Shopping at Farmer's Markets

Americans have come to know farmer's markets as outdoor markets which are held so that farmers can sell their fresh produce to consumers. Right off the bat, a couple of the reasons that people shop at farmer's markets, and why you, too, should shop there, have to do with the real freshness of the produce along with the added benefit of helping to support local farmers. All of the produce you buy at any given farmer's market is grown locally. A really traditional way that farmers sell home-manufactured as well as agricultural products, farmer's markets are seeing growth both in the United States and also in parts of Europe. Farmer's markets are also known as having flexible standards, with some imposing strict rules for prices, while others allow a more lenient condition for their vendors.
1. Helping Local Farmers
The first reason you should be shopping at farmer's markets has nothing to do with the fresh quality of the produce. It is making sure that these local farmers can continue operations. Since the produce is grown locally, you are supporting the network of local farmers by buying your produce at farmer's markets. This is important for the most immediate reason of doing your part to help ensure that these farmers can continue their local growing operations. Typically, the prices that are wholesale that farmers get for their produce is quite low; consequently, these farmers then take their produce and sell it directly to you, bypassing a middle man like a store altogether. This also results in better deals for consumers.
2. Quality of the Food
Because of how farmer's markets often feature produce and food that is grown both naturally and organically, the taste quality is superior than at other outlets. Farmers who sell their produce at farmer's markets are able to retain the nutritional content oftheir products, pick their produce at the very peak of its flavor, and also offer you hard-to-get foods, such as raw milk. As an additional bonus, the food they sell does not need to travel very far to get to your table (basically, just their farms to the market to your table), which helps to ensure that the food does not get damaged or bruised as it sometimes does when being transported to grocery stores.
3. Environmental Reasons
The final reason that you should be shopping at farmer's markets deals with the environment. The amount of fossil fuels is drastically cut since the time of travel is reduced in the delivery of the produce from farms to your dinner table. Studies have also indicated that the network of managed and sustainable farms that comprise the backbone of farmer's markets help to both conserve water resources as well as the purity of the soil. This factor helps wildlife by helping to preserve its habitat.
Article courtesy of fit day.com

Preparations have begun!

by Jerome Farmers Market, April 07, 2015
Along with this lovely sunny weather and the tiny bits of green poking out from the cold Winter ground comes preparations for the Market.  We are bursting with excited anticipation for this coming season.  Not only has our location changed, (which, brings with it a touch of sadness, as we will miss working so closely with the Crouchs') but we are adding vendors and looking forward to working with the Mountain View Barn.

Mark your calendars, visit us this season and show your support for Jerome's local businesses!


© Jerome Farmers Market · THEME BY WATDESIGNEXPRESS